

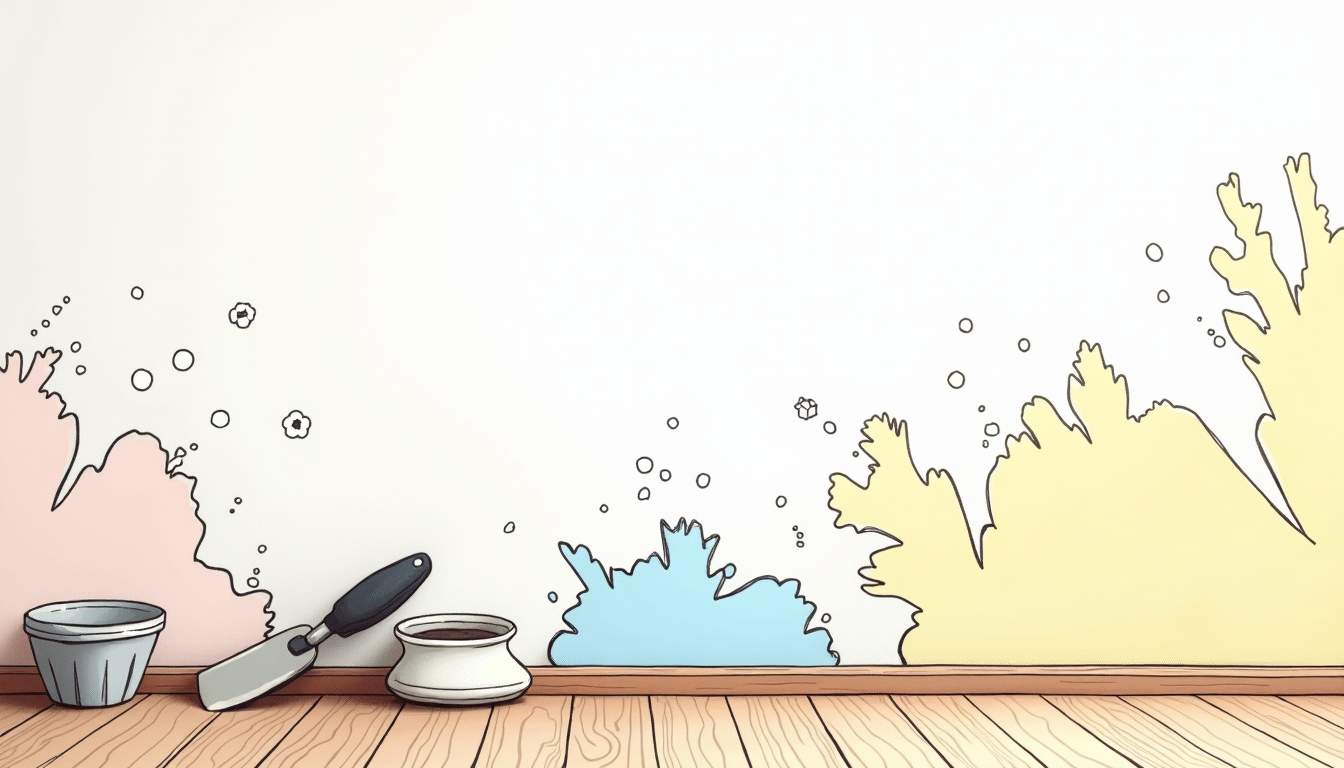
Painting a room can instantly refresh and transform a space, giving it a clean, vibrant new look. However, before picking up a brush or roller, it’s crucial to prepare the walls properly. One of the most important steps in wall preparation is repairing any cracks, holes, or imperfections. Skipping this step can lead to a less-than-perfect finish, with flaws showing through the paint and potentially causing peeling or damage down the line.
This comprehensive guide will walk you through everything you need to know about repairing common wall issues before painting. From identifying different types of cracks to choosing the right materials and techniques for patching holes, you’ll learn how to achieve a smooth, flawless surface that’s ready for a fresh coat of paint.
Understanding Wall Imperfections: Types and Causes
Before diving into repairs, it’s helpful to understand the kinds of imperfections you might encounter on your walls and what causes them. This knowledge can guide you in selecting the best repair method and materials.
Common Types of Wall Imperfections
Hairline Cracks: These are very thin cracks, often less than 1/16 inch wide, that appear on drywall or plaster surfaces. They usually result from natural settling of the building or minor shrinkage of materials. Hairline cracks are often more of a cosmetic issue than a structural one, but they can be unsightly and may require a simple touch-up with paint or a light filler to blend them into the surrounding wall.
Structural Cracks: Wider and deeper than hairline cracks, these may indicate movement in the foundation or framing of the house. Structural cracks often require professional assessment but can sometimes be repaired if they are minor. It’s essential to monitor these cracks over time, as they can worsen and lead to more significant issues if left unaddressed. Homeowners should also consider the age of their home and any recent renovations that might have impacted the structural integrity. For expert advice and solutions, you can visit Painting Service Singapore website.
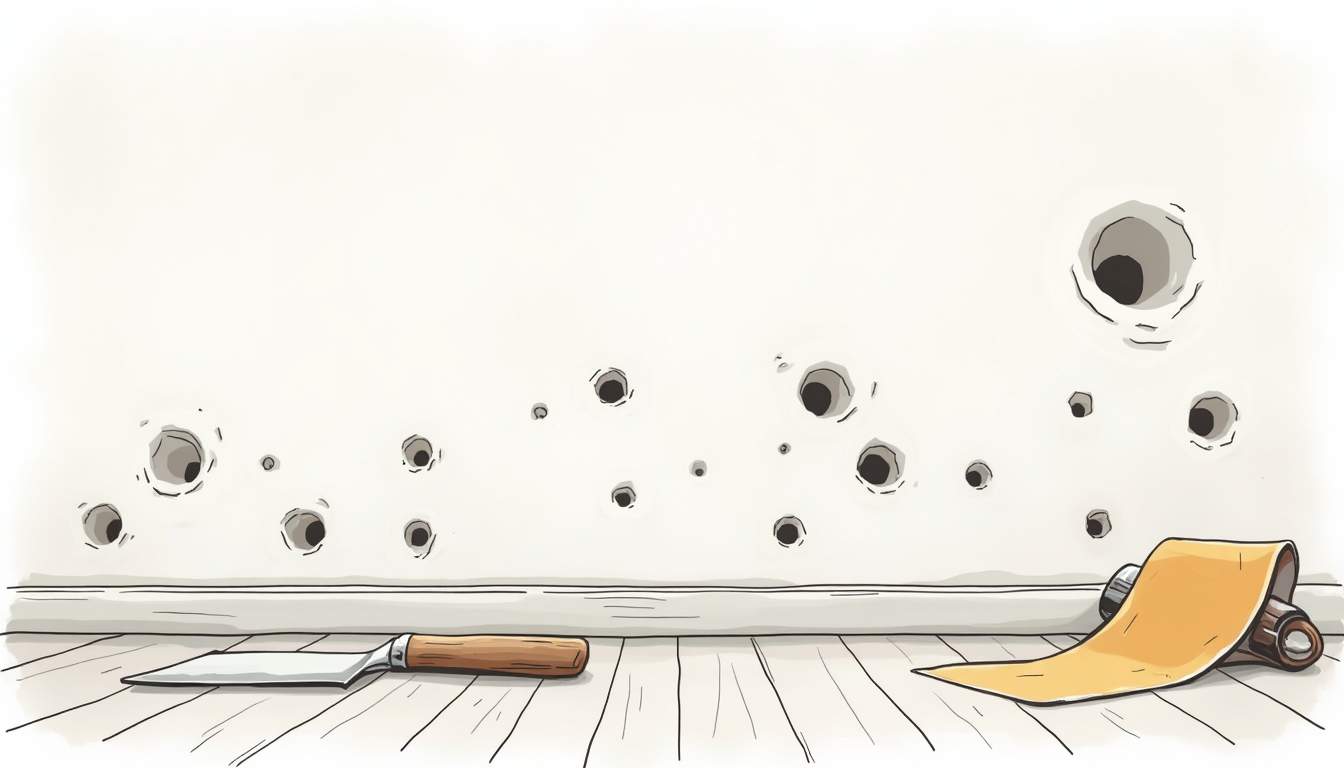
Holes: Holes can range from small nail or screw holes to larger damage caused by accidents or removal of fixtures. The size and depth of the hole will influence the repair approach. For small holes, a simple spackling compound may suffice, while larger holes may require a patching kit or even a piece of drywall to ensure a seamless repair. Understanding the wall material is crucial here, as different surfaces may require different techniques and materials for effective repair.
Dents and Gouges: These are shallow depressions or scratches on the wall surface caused by impacts. They may not be as deep as holes but still need filling for a smooth finish. Dents can often be fixed with a quick application of joint compound or a specialized wall repair product, followed by sanding and painting to restore the wall’s original appearance.
Common Causes of Wall Damage
Understanding the root cause of cracks or holes can prevent future damage. Some common causes include:
- Building Settling: Over time, houses naturally settle, causing minor cracks in drywall or plaster. This process can be influenced by the soil type and moisture levels in the ground, which can expand or contract, affecting the foundation.
- Temperature and Humidity Changes: Expansion and contraction of materials can lead to cracking. Seasonal changes can exacerbate this issue, particularly in regions with extreme temperature fluctuations, where the walls may experience stress from thermal expansion.
- Water Damage: Leaks or high moisture levels can weaken walls and cause cracks or peeling paint. It’s vital to address any plumbing issues or roof leaks promptly to prevent mold growth and further deterioration of wall materials.
- Physical Impact: Accidental bumps, furniture movement, or hanging heavy objects can create holes or dents. Being mindful of wall-mounted fixtures and ensuring they are securely anchored can help mitigate this type of damage.
Additionally, the choice of wall materials can play a significant role in the type of imperfections you might encounter. For instance, drywall is more susceptible to dents and scratches compared to plaster, which is more durable but can crack under stress. Regular maintenance and inspections can help identify potential issues before they become major repairs, ensuring your walls remain in good condition for years to come.
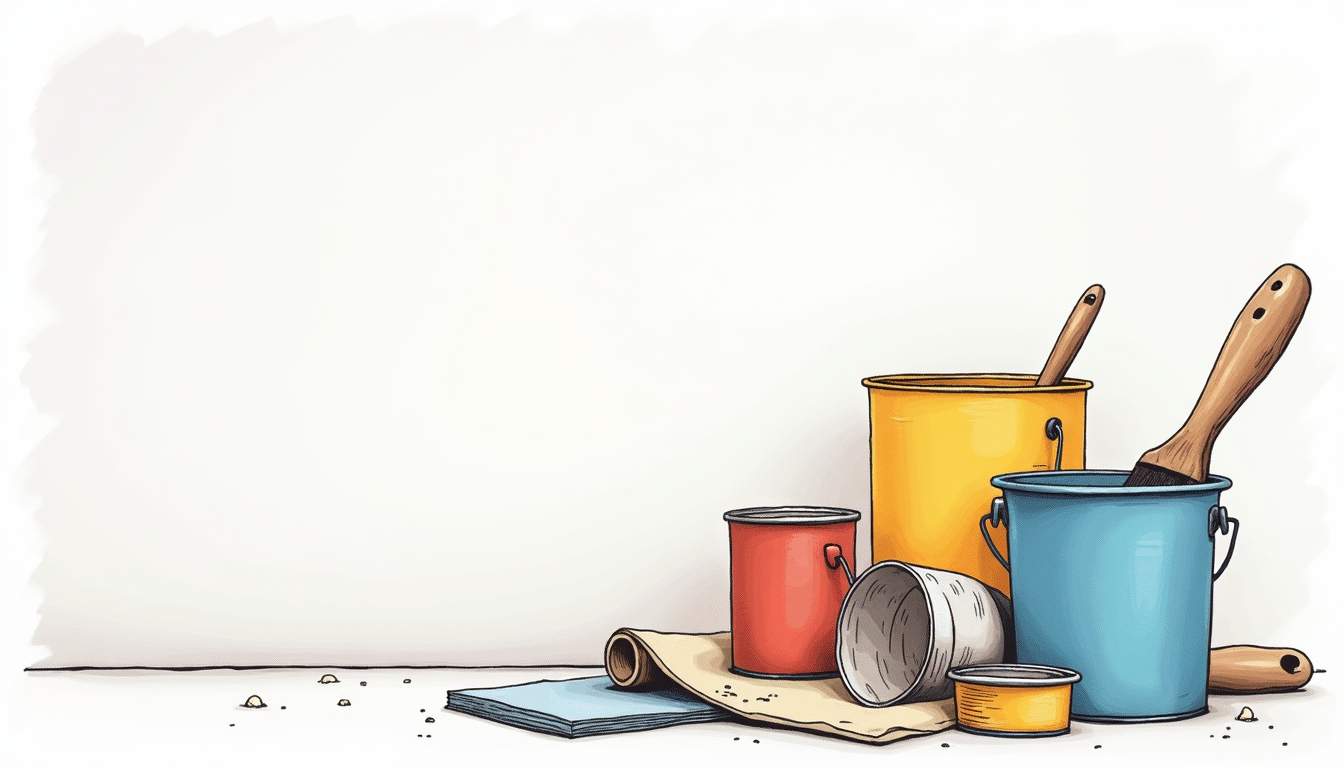
Gathering the Right Tools and Materials
Having the proper tools and materials on hand before starting repairs will make the process smoother and more efficient. Here’s a list of essentials for most wall repair jobs:
- Spackling Paste or Joint Compound: Used to fill small holes and cracks.
- Patch Kits: For larger holes, mesh or adhesive patches provide a base for repair.
- Putty Knife: A flexible, flat tool for applying and smoothing filler.
- Sandpaper or Sanding Sponge: Medium to fine grit for smoothing repaired areas.
- Primer: Seals repaired areas to ensure paint adhesion and uniform finish.
- Paintbrush or Roller: For applying primer and paint.
- Utility Knife: For cleaning edges of damaged areas or cutting patches.
- Cleaning Supplies: Mild detergent, sponge, and clean cloths for preparing surfaces.
Optional but helpful tools include a sanding block for even sanding and a vacuum or brush to remove dust.
Step-by-Step Guide to Repairing Cracks
Cracks can be frustrating, but with the right approach, they can be repaired to look as good as new. Here’s how to tackle them:
1. Clean the Area
Start by wiping down the cracked area with a damp cloth to remove dust, dirt, or loose paint. This ensures better adhesion of the filler.
2. Widen the Crack Slightly
Using a utility knife or a scraper, gently widen the crack to create a V-shaped groove. This may seem counterintuitive, but it helps the filler bond better inside the crack rather than just sitting on top.
3. Apply Filler
Using a putty knife, apply spackling paste or joint compound into the crack. Press firmly to fill the groove completely, then smooth the surface as much as possible.
4. Let It Dry
Drying times vary depending on the product used and the thickness of the application. Follow the manufacturer’s instructions, but typically allow several hours or overnight.
5. Sand Smooth
Once dry, sand the repaired area with medium to fine grit sandpaper until it’s flush with the surrounding wall. Wipe away dust with a clean cloth.
6. Prime and Paint
Apply a coat of primer to seal the repair and prevent uneven paint absorption. After the primer dries, paint over the area to match the rest of the wall.
How to Fix Holes of Different Sizes
Holes in walls vary widely, so the repair method depends on the size and depth of the damage.
Small Holes (Nail or Screw Holes)
These tiny holes are the easiest to fix. Simply fill them with spackling paste using a putty knife or your finger. Smooth the surface and let it dry. After sanding lightly, prime and paint.
Medium Holes (Up to 1-2 Inches)
For holes caused by wall anchors or accidental damage, use a patch kit or apply a backing before filling:
- Step 1: Clean the hole edges and remove any loose debris.
- Step 2: For holes larger than a quarter, place a self-adhesive mesh patch over the hole.
- Step 3: Apply joint compound over the patch, feathering the edges to blend with the wall.
- Step 4: Allow to dry, then sand smooth.
- Step 5: Prime and paint.
Large Holes (Over 2 Inches)
Large holes require more extensive repair, often involving cutting a new piece of drywall:
- Step 1: Use a utility knife to cut the hole into a neat square or rectangle.
- Step 2: Cut a drywall patch slightly smaller than the hole.
- Step 3: Attach a wooden backing piece inside the wall cavity to support the patch.
- Step 4: Screw the drywall patch into the backing.
- Step 5: Apply joint compound over seams and screw heads, feathering out the edges.
- Step 6: Once dry, sand smooth and apply additional coats if needed.
- Step 7: Prime and paint to finish.
Dealing with Dents, Gouges, and Surface Imperfections
Minor dents and gouges can detract from the smoothness of painted walls. Fortunately, these are relatively simple to fix.
Filling Dents and Gouges
Use spackling paste or lightweight joint compound to fill dents and gouges. Apply with a putty knife, pressing the filler into the indentation and smoothing the surface. For deeper gouges, multiple layers may be necessary, allowing each to dry before applying the next.
Sanding and Finishing
After the filler dries, sand the area with fine grit sandpaper until smooth and flush with the surrounding wall. Clean off dust before priming and painting.
Tips for a Professional-Looking Finish
Even the best repairs can look obvious if not finished properly. Here are some tips to ensure your walls look flawless after painting:
- Use Primer: Always prime repaired areas to prevent paint from soaking in unevenly and to help the paint adhere better.
- Feather Edges: When applying joint compound, feather the edges out to blend with the wall, reducing visible lines after painting.
- Sand Evenly: Sand repaired spots carefully but avoid over-sanding, which can create indentations.
- Match Paint Carefully: Use the same type and finish of paint as the existing wall for a seamless look.
- Work in Good Lighting: Natural or bright lighting helps you spot imperfections before painting.
When to Call a Professional
While many wall repairs are manageable for DIY enthusiasts, some situations require professional expertise:
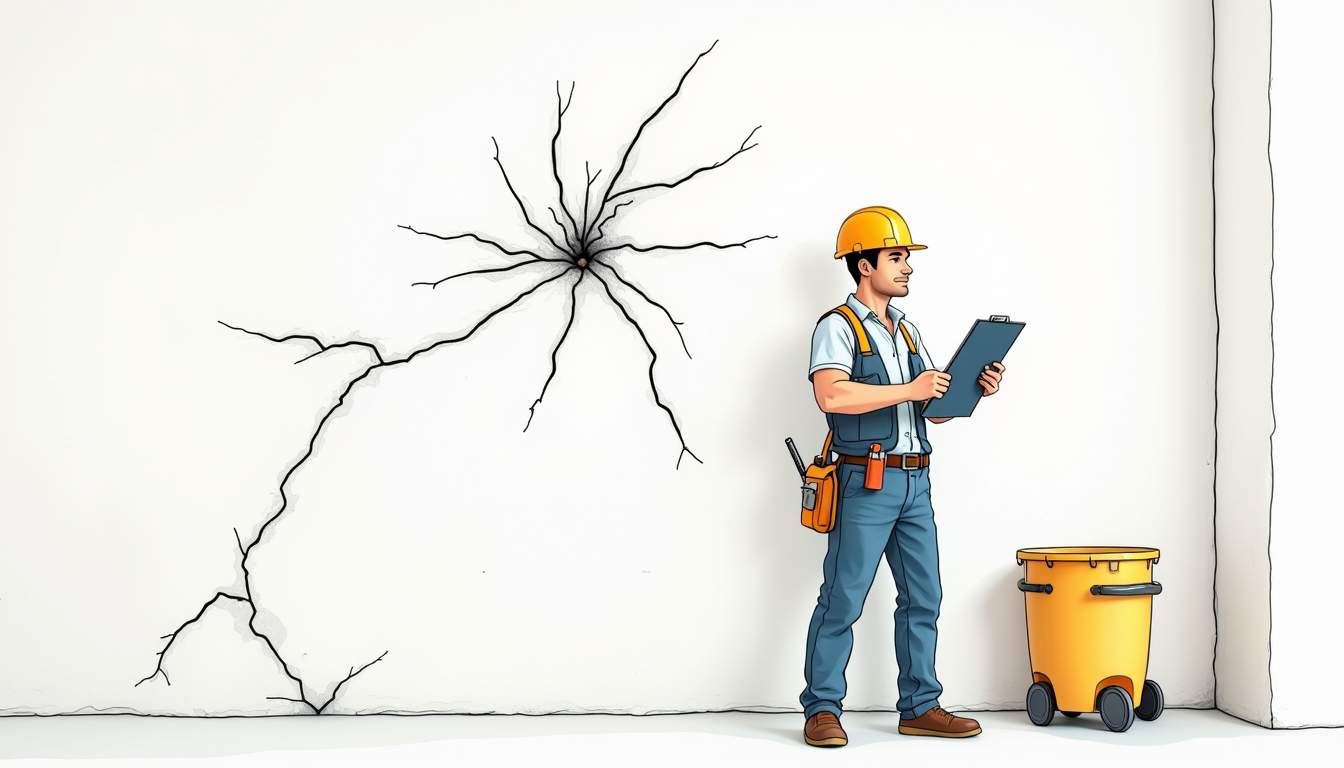
- Structural Cracks: If cracks are wide, deep, or growing, they may indicate foundation or framing issues.
- Water Damage: Extensive damage from leaks or mold should be addressed by a specialist.
- Extensive Wall Damage: Large areas of damaged plaster or drywall may require replacement rather than patching.
- Uncertain Repairs: If you’re unsure about the cause or best repair method, consulting a professional can save time and money.
Conclusion
Repairing cracks, holes, and imperfections is an essential step in achieving a beautiful, long-lasting paint job. Taking the time to properly prepare your walls ensures that the paint adheres well and the finish looks smooth and flawless. From small nail holes to larger cracks and dents, the right tools, materials, and techniques can help you restore your walls to perfect condition.
By following the steps outlined in this guide, you can confidently tackle wall repairs and enjoy a fresh, revitalized space that feels like new. Remember, patience and attention to detail during preparation make all the difference in the final result.
Top-Rated Beirut Escorts Offering Sophisticated Experiences
Saving Time and Money with a Healthcare Virtual Assistant Today
What to Look for When Choosing a Trade Show Booth Manufacturer in the U.S.?
How Recreational Cannabis Stores Work: Rules and Regulations
Remote Bookkeeping Services Australia: The Invisible Engine Behind Modern Businesses