A leaking toilet bowl seal can be a frustrating and messy problem. Not only does it waste water, but it can also cause damage to your bathroom floor and create unpleasant odors. Fortunately, fixing a leaking toilet bowl seal is a manageable DIY task that can save you money and prevent further damage. This comprehensive guide will walk you through the steps to identify the leak, gather the necessary tools, and replace the seal effectively.
Understanding the Toilet Bowl Seal and Its Role
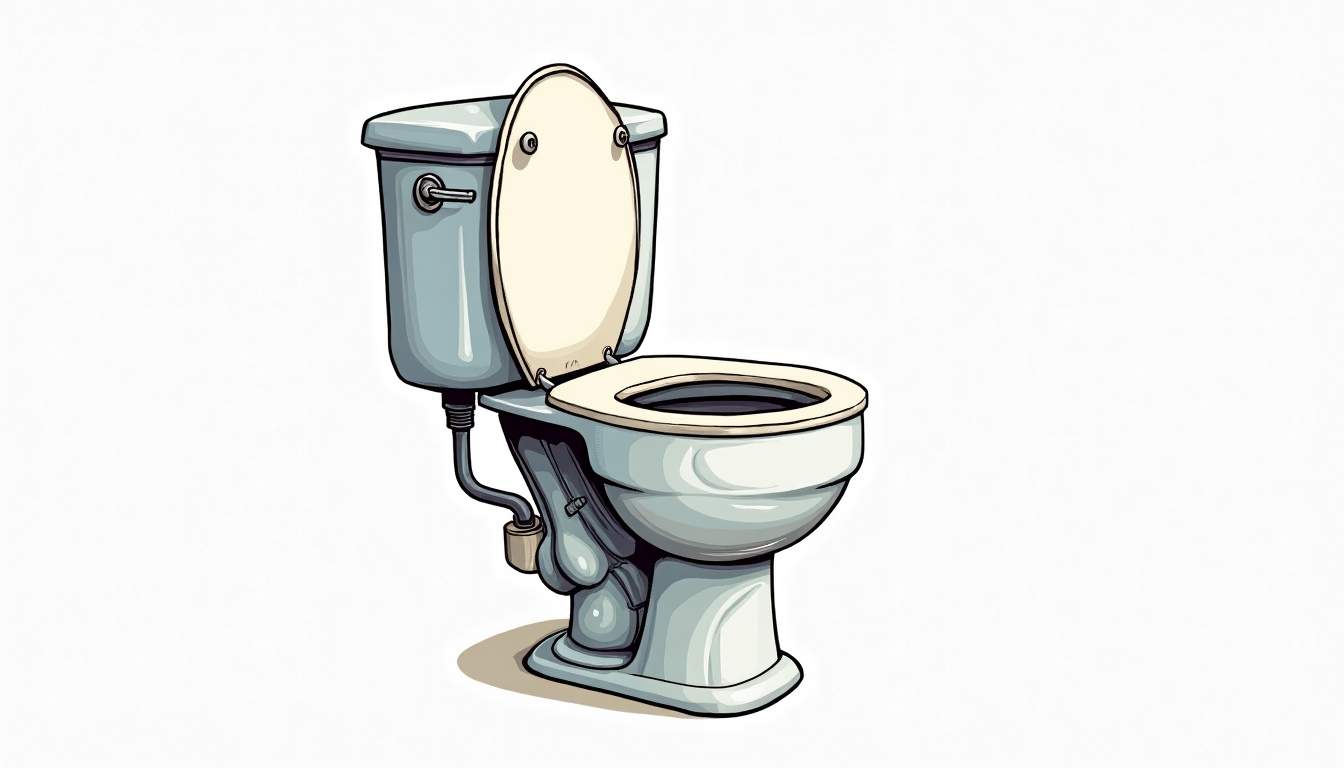
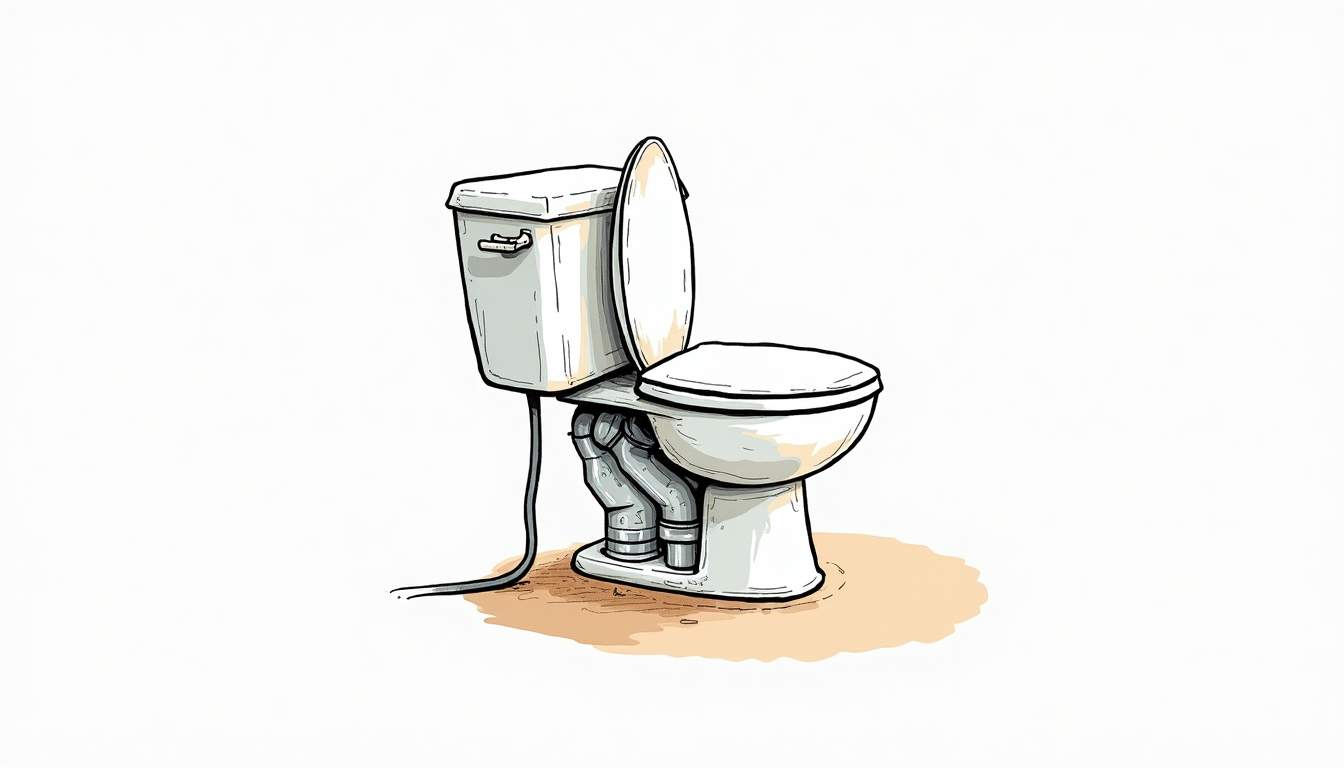
The toilet bowl seal, often referred to as the wax ring seal, is a crucial component that sits between the base of the toilet and the flange on the floor. Its primary function is to create a watertight and airtight seal, preventing water and sewer gases from escaping when the toilet is flushed. This seemingly simple component plays a significant role in maintaining the hygiene and functionality of your bathroom.
Over time, this seal can degrade due to age, improper installation, or shifting of the toilet. When the seal fails, water may leak onto the bathroom floor, and unpleasant odors can seep into the room. Recognizing the symptoms early can save you from more extensive repairs down the line. Regular maintenance checks can help ensure that your toilet remains in optimal condition, preventing the need for costly replacements or extensive plumbing work.
Common Signs of a Leaking Toilet Bowl Seal
Before diving into repairs, it’s important to confirm that the leak is indeed coming from the toilet bowl seal. Some common indicators include:
- Water pooling around the base: If you notice water collecting around the bottom of the toilet, especially after flushing, the seal is likely compromised.
- Unpleasant odors: A bad seal can allow sewer gases to escape, causing a foul smell in your bathroom.
- Toilet rocking or movement: A loose or shifting toilet can break the seal and cause leaks.
- Stains or discoloration on the floor: Persistent moisture can damage flooring materials and leave visible marks.
In addition to these signs, it is essential to keep an eye on your water bill. A sudden increase in usage could indicate a hidden leak, possibly related to a failing toilet bowl seal. Furthermore, if you hear gurgling sounds when you flush or notice that the toilet takes longer to refill, these could also be subtle hints that the seal is not functioning correctly. Addressing these issues promptly can prevent further damage to your plumbing system and help maintain a comfortable and sanitary bathroom environment.
When it comes to replacing the wax ring seal, it’s crucial to choose the right type for your specific toilet model. There are various options available, including thicker wax rings for uneven floors or those with built-in flanges for easier installation. Additionally, while many homeowners opt for DIY repairs, consulting a professional plumber can provide peace of mind and ensure that the job is done correctly, preventing future complications. To learn more about expert plumbing solutions, you can visit Plumber Singapore at the following link: https://www.plumbersingapore.sg
Gathering the Tools and Materials Needed
Before starting the repair, it’s essential to have all the necessary tools and materials on hand. This preparation will make the process smoother and more efficient.
Here’s a list of what you’ll need to fix a leaking toilet bowl seal:
- New wax ring seal (consider a wax-free alternative if preferred)
- Adjustable wrench or socket wrench
- Putty knife or scraper
- Rubber gloves
- Bucket and sponge or towels
- Old rags or newspapers to protect the floor
- Plumber’s putty or silicone caulk (optional, depending on seal type)
- Flashlight (optional, for better visibility)
Choosing the right wax ring is important. Standard wax rings are inexpensive and widely used, but wax-free seals made of rubber or foam offer easier installation and can be reused if necessary.
Step-by-Step Guide to Fixing the Leak
Replacing the toilet bowl seal involves removing the toilet, replacing the wax ring, and reinstalling the toilet. While the process may seem daunting, following these steps carefully will help you complete the job successfully.
1. Turn Off the Water Supply and Drain the Toilet
Start by locating the shut-off valve behind the toilet near the floor. Turn it clockwise to stop the water flow. Next, flush the toilet to drain as much water as possible from the tank and bowl. Use a sponge or towel to soak up any remaining water in the bowl and tank to prevent spills during removal.
2. Disconnect the Water Supply Line
Using an adjustable wrench, carefully disconnect the water supply line from the bottom of the toilet tank. Place a bucket or towels underneath to catch any residual water that may drip out.
3. Remove the Toilet
Locate the bolts securing the toilet to the floor, typically covered by plastic caps. Pry off the caps and use a wrench to loosen and remove the nuts. Gently rock the toilet back and forth to break the seal and lift it straight up. Be cautious, as toilets can be heavy and awkward to handle. Set the toilet aside on old towels or newspapers to protect your floor.
4. Remove the Old Wax Ring
With the toilet removed, you’ll see the old wax ring stuck to the base of the toilet or the flange on the floor. Use a putty knife or scraper to carefully remove all remnants of the old wax. Clean the flange thoroughly, ensuring it is free of debris and damage. If the flange is cracked or broken, it may need to be repaired or replaced before proceeding.
5. Inspect the Toilet Flange
The flange is a critical component that connects the toilet to the drain pipe. Check for any signs of corrosion, cracks, or looseness. If the flange is damaged, it can cause leaks even with a new wax ring. Repair kits are available for minor damage, or you may need to call a professional for extensive repairs.
6. Install the New Wax Ring
Place the new wax ring onto the flange, ensuring it is centered. Some wax rings come with a plastic horn that fits into the drain pipe to improve the seal. Alternatively, you can place the wax ring on the toilet outlet before setting the toilet down. If using a wax-free seal, follow the manufacturer’s instructions carefully.
7. Reset the Toilet
Carefully lift the toilet and align the bolt holes on the base with the flange bolts on the floor. Lower the toilet straight down onto the wax ring, applying firm and even pressure to compress the seal. Avoid rocking the toilet, as this can break the wax ring. Once in place, press down on the toilet bowl to ensure a good seal.
8. Secure the Toilet to the Floor
Replace the washers and nuts onto the flange bolts and tighten them evenly. Be careful not to overtighten, as this can crack the toilet base. Tighten the bolts just enough to secure the toilet firmly without causing damage. Replace the bolt caps for a finished look.
9. Reconnect the Water Supply and Test
Reconnect the water supply line to the tank and turn the shut-off valve counterclockwise to restore water flow. Allow the tank to fill and flush the toilet several times, checking for leaks around the base. Use a dry towel to detect any moisture. If no leaks are present, the repair is complete.
Additional Tips and Troubleshooting
While most toilet seal replacements go smoothly, some issues may arise. Here are some tips to help you troubleshoot common problems:
Toilet Still Leaking After Replacement
If water continues to leak after installing a new wax ring, double-check that the toilet is seated properly and the bolts are tightened evenly. Inspect the flange for damage or improper height. Sometimes, a flange that sits below the finished floor level requires a flange extender to create a proper seal.
Preventing Future Leaks
To extend the life of your toilet seal, avoid rocking or shifting the toilet. If the toilet feels loose, tighten the bolts carefully. Regularly inspect the base for signs of moisture or damage. Additionally, avoid using harsh chemical cleaners that can degrade seals over time.
Considering Wax-Free Seals
Wax-free toilet seals are gaining popularity due to their ease of installation and reusability. Made from rubber or foam, these seals provide a strong, flexible barrier that can accommodate slight movement. They are also less messy than traditional wax rings and can be a good choice for first-time DIYers.
When to Call a Professional Plumber
While replacing a leaking toilet bowl seal is a manageable DIY project for many homeowners, there are situations where professional help is advisable. If you encounter any of the following, it’s best to consult a licensed plumber:
- Severe flange damage requiring replacement
- Persistent leaks despite multiple seal replacements
- Cracked or damaged toilet base
- Complex plumbing configurations or inaccessible bolts
- Uncertainty about the repair process or lack of proper tools
A professional plumber can ensure the repair is done correctly and safely, potentially saving you time and preventing further damage.
Conclusion
Fixing a leaking toilet bowl seal is a practical and cost-effective way to maintain your bathroom’s functionality and hygiene. By understanding the role of the seal, recognizing the signs of leakage, and following a systematic repair process, homeowners can confidently tackle this common plumbing issue.

Remember to gather the right tools, take your time during each step, and inspect all components thoroughly. Whether you choose a traditional wax ring or a modern wax-free seal, a properly installed toilet seal will keep your bathroom dry and odor-free for years to come.