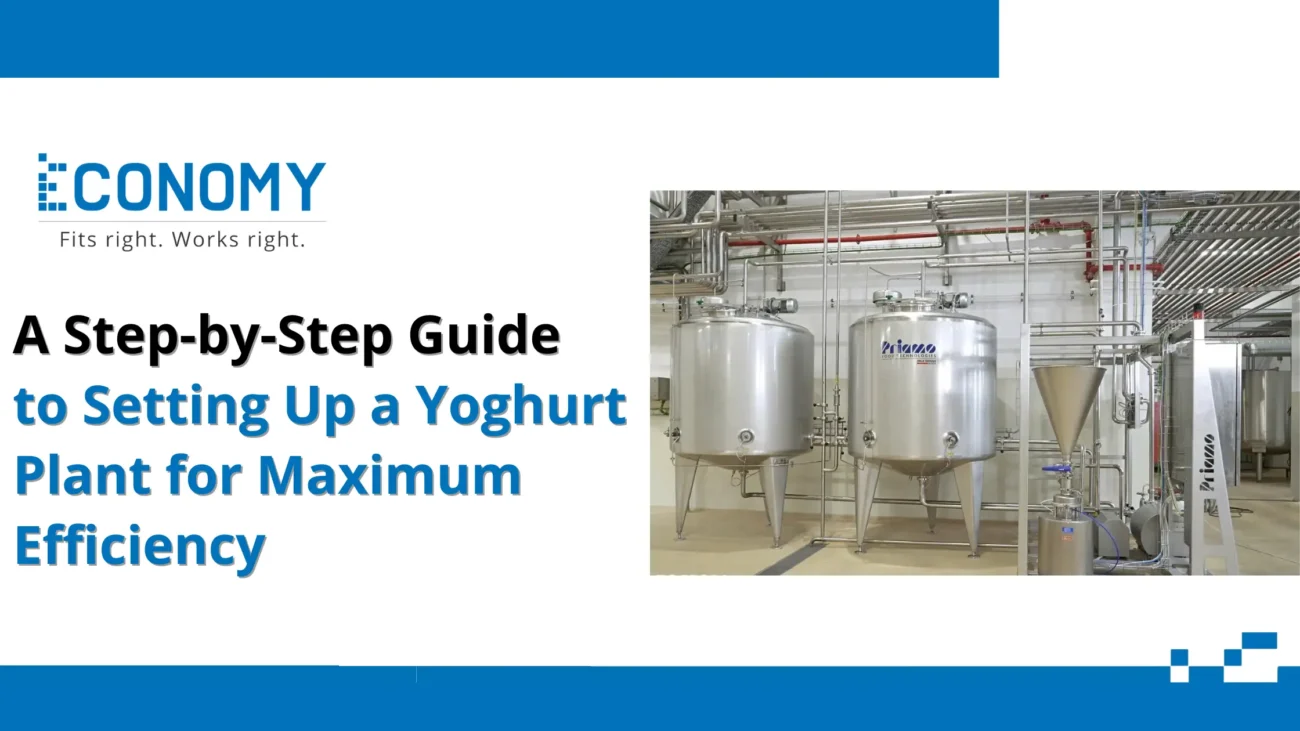
Setting up a yoghurt plant requires careful planning, efficient design, and disciplined execution. Whether you’re launching a small artisanal line or a mid-sized commercial facility, the goal is the same: consistent product quality at minimum cost and environmental impact. This guide walks you through advantages, site selection, layout, equipment, yogurt manufacturing process steps, cost control, sustainability, and practical tips to maximize efficiency.
Advantages of Setting Up a Yogurt Plant
Yoghurt production offers steady demand, predictable margins, and multiple product variants (set, stirred, Greek, drinkable, probiotic). Low entry barriers for smaller capacities and strong shelf-life when cold-chain is maintained make it attractive. Value-added opportunities—flavored lines, fortified yoghurts, private labeling—create higher returns. Local sourcing of milk can further lower raw material costs and support traceability.
Arranging Your Dairy Processing Plant
Begin by mapping the entire process from raw milk reception to finished-goods dispatch. Define clear zones: raw material receiving, processing/pasteurization, inoculation & incubation, packaging, cold storage, quality control, utilities, and waste treatment. Keep raw and finished product flows physically separated to avoid cross-contamination. Plan straight-line flows to minimize material handling and reduce time between steps.
Picking Up the Right Area and Design
Choose a site with reliable access to milk suppliers, potable water, power, and transport links. Local regulations, zoning for food production, and proximity to target markets are critical. The building must allow hygienic finishes—smooth, washable floors, adequate drainage, and hygienic wall and ceiling materials. Design for future expansion: modular spaces and spare utility capacity save costly retrofits later.
Planning the Layout
A process-first layout reduces inefficiencies. Place pasteurization, homogenization, and cooling close to milk reception; position incubation units near packaging to shorten transfer times. Allocate separate labs for microbiology and physico-chemical testing. Plan for CIP (Clean-In-Place) routing with accessible valves and RAS/PLC controls if automating. Design loading docks and refrigerated dispatch areas to maintain cold chain integrity.
Equipment for Yoghurt Plant
Core equipment includes:
- Milk reception and storage tanks (with cooling)
- Pasteurizer (tubular or plate) and homogenizer
- Standardization and mixing tanks
- Fermentation/Incubation tanks or continuous incubators
- Cooling systems (glycol chillers)
- Filling & sealing machines (pots, cups, pouches)
- Clean-in-Place (CIP) system and waste treatment units
- Packaging line and cold storage (blast chillers, refrigerated warehouse)
Invest in stainless steel (food-grade) and consider semi-automatic to fully automatic lines based on capacity and labor availability.
Steps in the Yogurt Manufacturing Process
- Milk reception & testing: Check fat, solids-not-fat, and microbial quality.
- Standardization & pre-mix: Adjust fat and solids; add stabilizers or powdered milk if required.
- Pasteurization & homogenization: Heat-treat to ensure safety and texture, then homogenize for consistency.
- Cooling: Bring milk to inoculation temperature (usually 40–45°C).
- Inoculation: Add starter cultures under hygienic conditions.
- Incubation/Fermentation: Hold at controlled temperature until desired acidity/texture is achieved.
- Cooling & set/stir: Rapidly cool to stop fermentation; if making stirred yoghurt, process to appropriate consistency.
- Filling & packaging: Fill into containers and seal in a hygienic environment.
- Cold storage & distribution: Maintain 2–6°C for shelf-life; ensure cold-chain logistics.
Cost Management and Sustainability
Effective expense management ensures profit, while sustainability measures reduce environmental impact. Here are methodologies for accomplishing both:
- Raw-material sourcing: Negotiate long-term contracts with reliable milk suppliers; implement quality-linked pricing.
- Energy optimization: Use heat recovery from pasteurizer for water heating; adopt efficient chillers; consider solar PV for daytime loads.
- Water & wastewater: Install water meters, optimize cleaning cycles, and treat effluent (equalization, anaerobic/aerobic treatment) to reuse water where safe.
- Lean operations: Minimize changeover times, standardize SKUs, and implement preventive maintenance to avoid costly breakdowns.
- Packaging selection: Choose recyclable or lightweight packaging to cut material costs and waste disposal.
- Automation & control: PLC-based process controls reduce human error, lower rework, and optimize utilities.
- By-product valorization: Use whey for value-added products (beverages, protein powders) or as animal feed after appropriate treatment.
Final Words
A successful yoghurt plant balances product quality, operational efficiency, and environmental stewardship. Start with a clear process map, invest in hygienic layout and the right equipment, and commit to continuous improvement—monitor KPIs like yield, energy per liter, downtime, and rejection rates. By combining smart site selection, lean production techniques, and sustainability practices, you’ll build a resilient operation capable of scaling and adapting to market trends while protecting margins and the planet.
